 yonohomedesign.com Garden and Interior Design Ideas
As an Amazon Associate I earn from qualifying purchases.
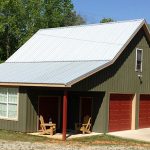
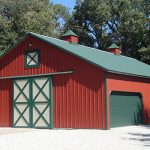
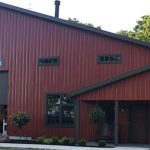
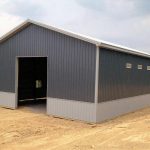
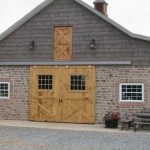
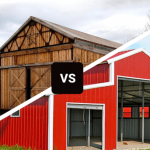
Pole barns have become increasingly popular structures for a variety of uses, from storage to livestock housing to workshops. These versatile buildings are cost-effective, easy to construct, and can be customized to fit your specific needs. If you’re considering building a pole barn, here is a guide to help you through the process.
1. Plan and Design: The first step in constructing a pole barn is to plan and design your building. Consider the size and layout of the structure, as well as any special requirements you may have. You can find many pole barn plans online, or you can work with a professional builder to create a custom design.
2. Choose a Location: Once you have your design in place, you’ll need to choose a location for your pole barn. Consider factors like access to utilities, drainage, and proximity to other buildings. Make sure to check with your local zoning department to ensure compliance with any regulations or restrictions.
3. Gather Materials: The next step is to gather all the necessary materials for your pole barn. This will include the poles, lumber, metal roofing and siding, concrete for the foundation, and any other materials specified in your design plans. Make sure to double-check your materials list before starting construction.
4. Prepare the Site: Before you can begin construction, you’ll need to prepare the site for your pole barn. This will involve clearing and leveling the ground, marking the perimeter of the building, and setting the foundation poles in place. Make sure to follow your design plans carefully to ensure proper placement of the poles.
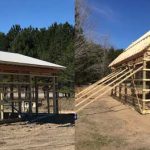
5. Construct the Frame: Once the site is prepared, you can start constructing the frame of your pole barn. This involves attaching the lumber to the poles to create the framework of the building. Make sure to follow your design plans closely to ensure that the frame is sturdy and secure.
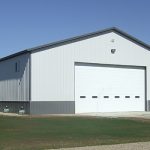
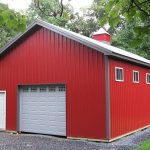
6. Add Roofing and Siding: After the frame is constructed, you can add the roofing and siding to your pole barn. This will help protect the structure from the elements and give it a finished appearance. Make sure to follow the manufacturer’s instructions for installing the roofing and siding to ensure proper installation.
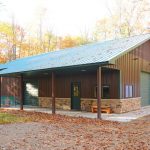
7. Finishing Touches: Once the main structure is in place, you can add any finishing touches to your pole barn. This may include adding doors, windows, insulation, or any other features you may want. Make sure to take your time with these final touches to ensure that your pole barn meets all of your needs.
In conclusion, constructing a pole barn is a relatively simple and cost-effective way to create additional storage or workspace on your property. By following this guide and working carefully through each step of the construction process, you can create a durable and functional pole barn that will suit your needs for years to come.


Amazon and the Amazon logo are trademarks of Amazon.com, Inc, or its affiliates.


